Editor's Picks
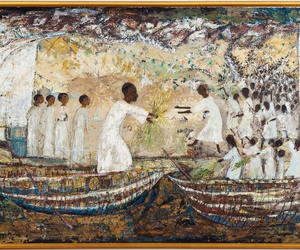
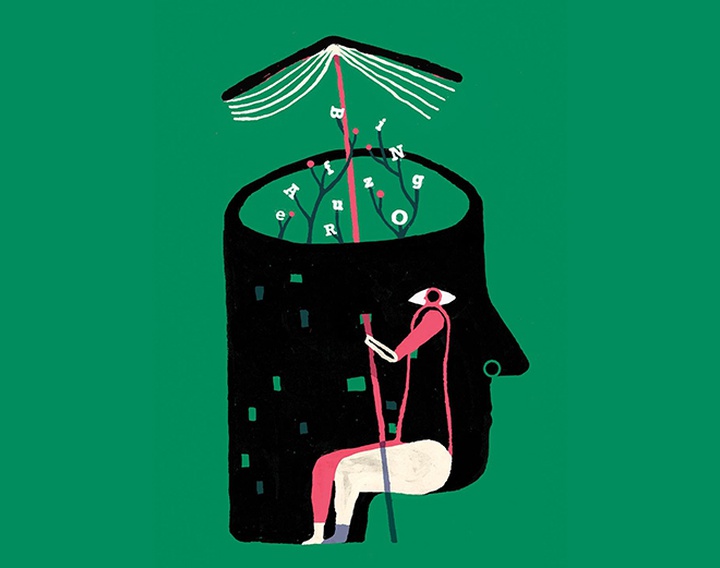
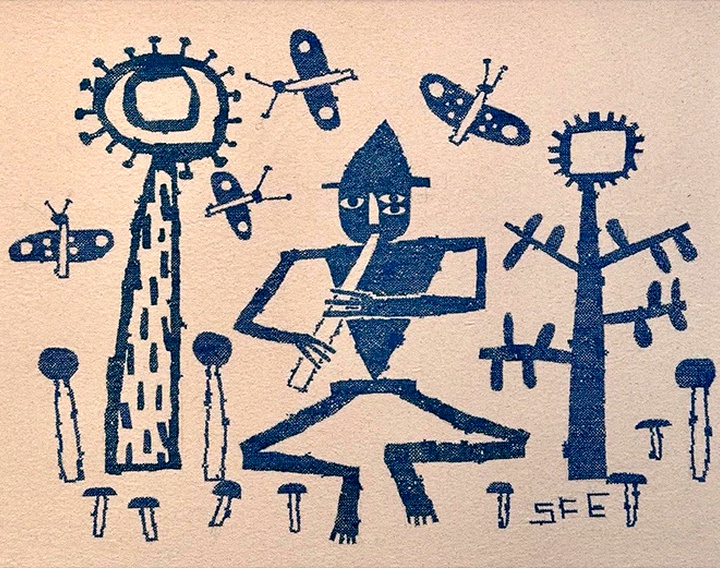
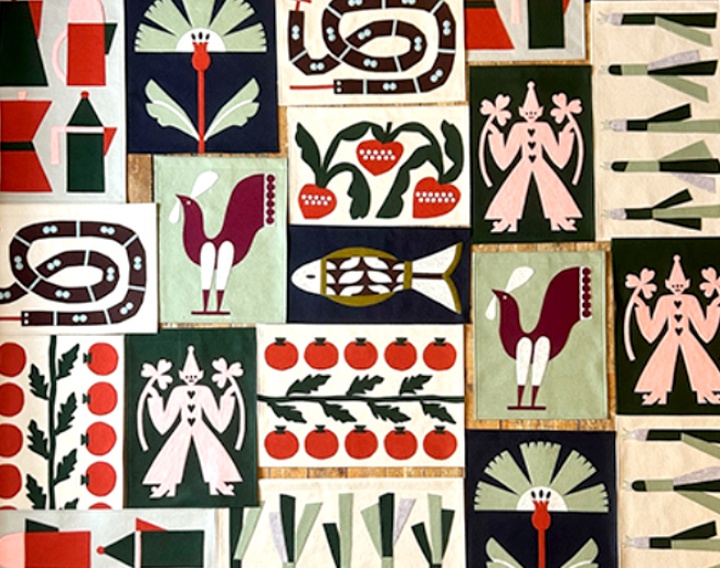
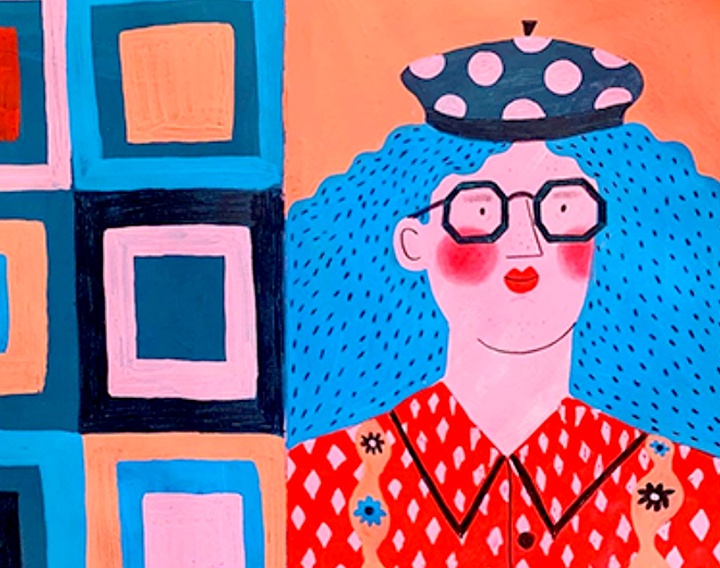
Gallery of illustration by Samaeh Sharifi - Iran
Sep 26, 2025
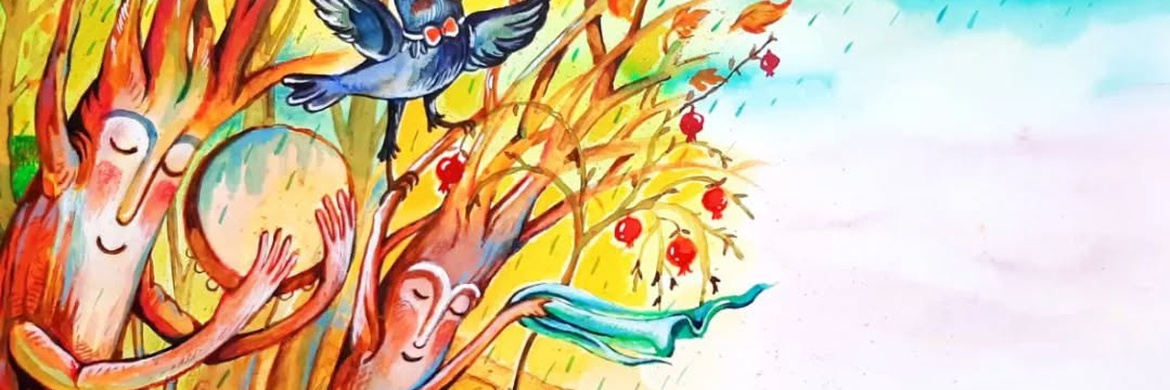
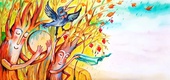
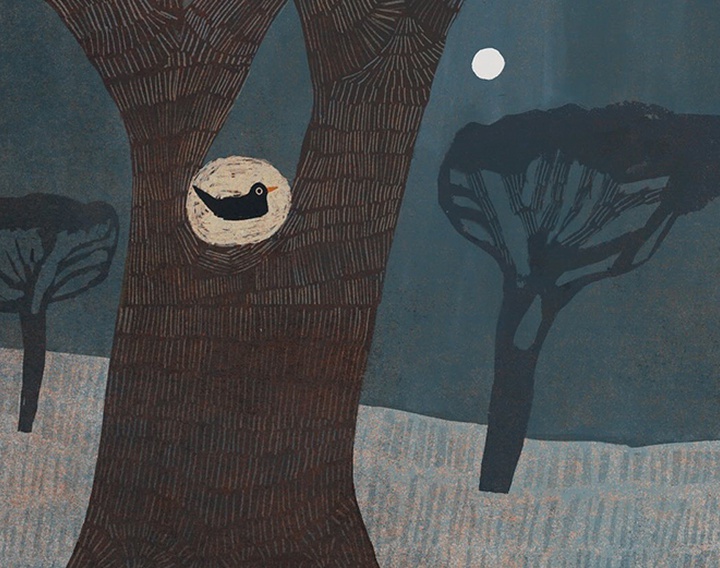
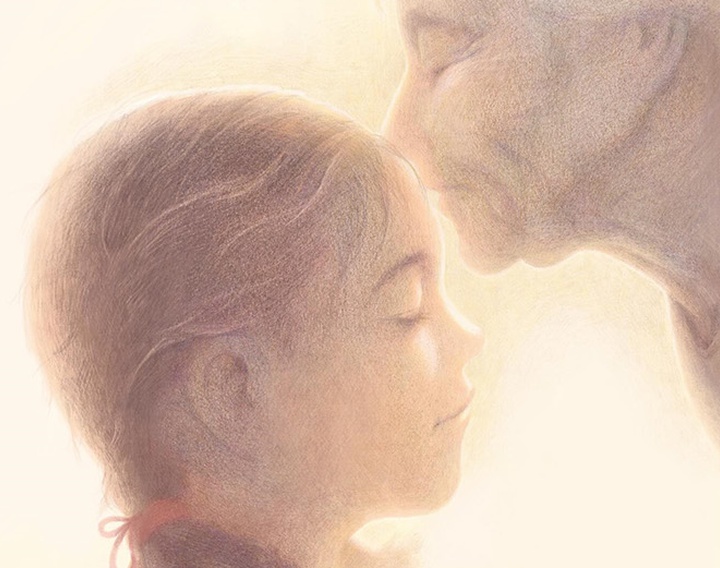
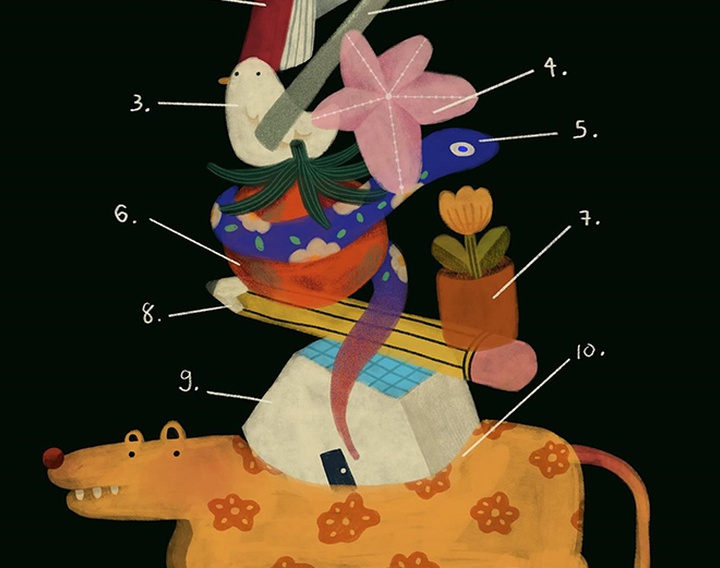
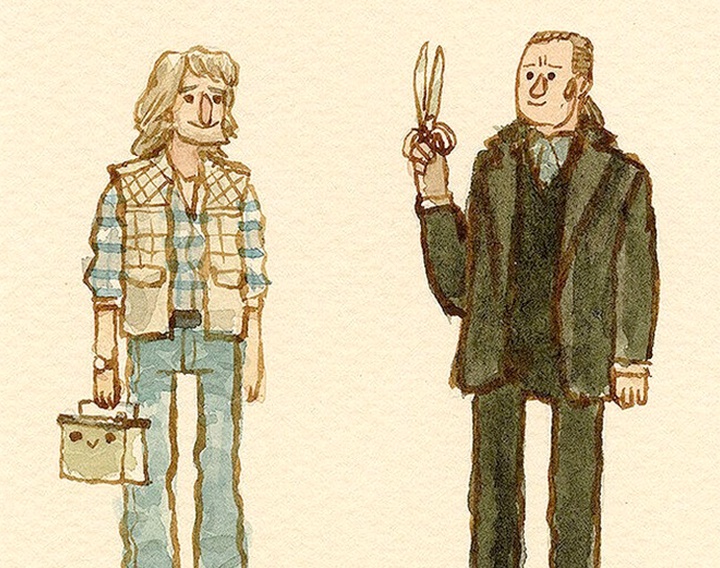
Gallery of illustration by Hossein Soluki - Iran
Sep 26, 2025
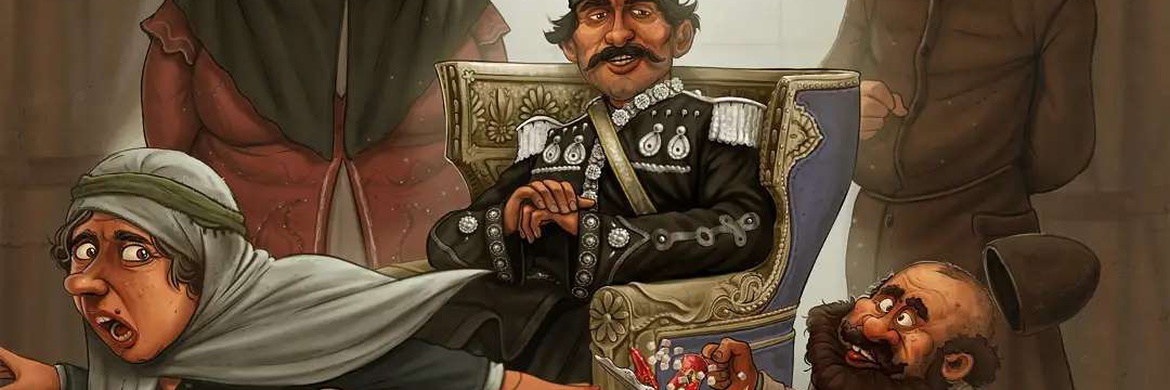
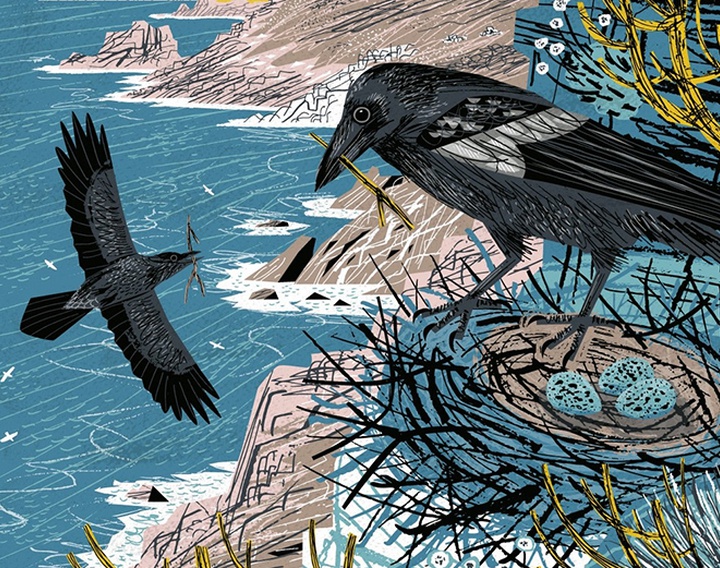
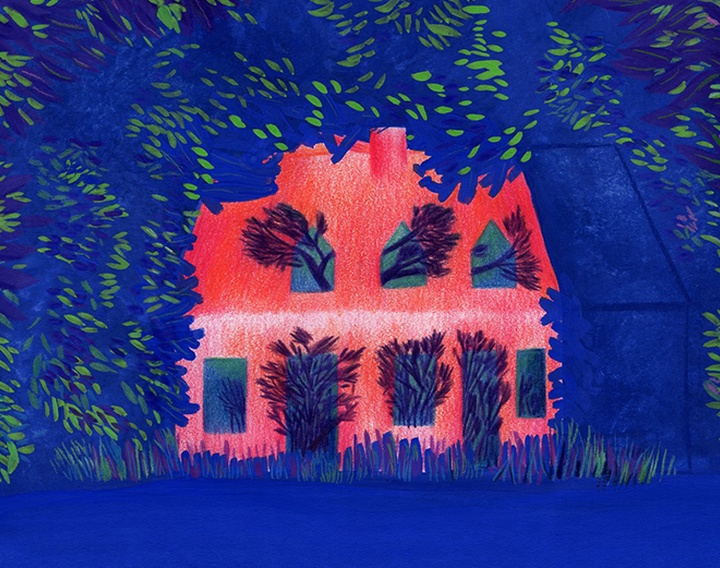
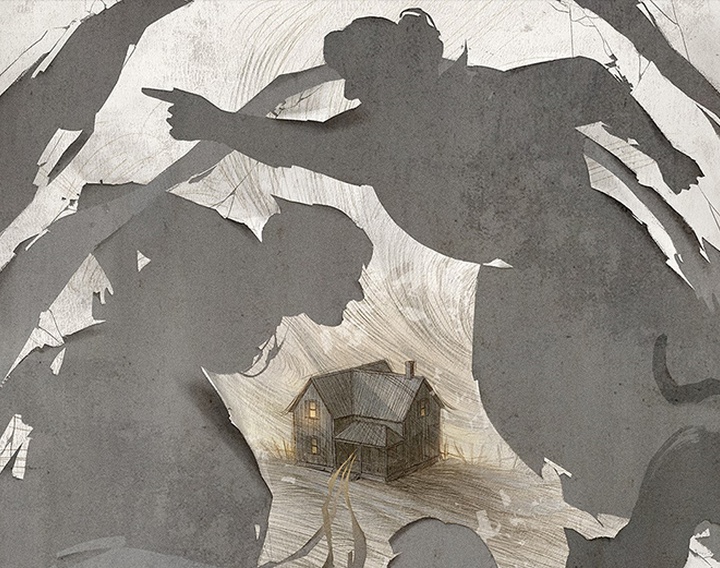
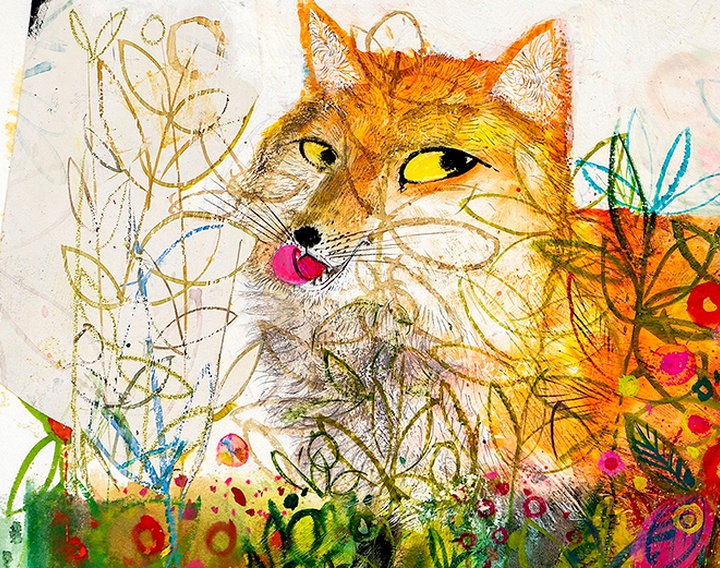
Gallery of Illustration by Ricardo Martinez-Chile
Aug 14, 2025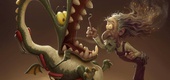
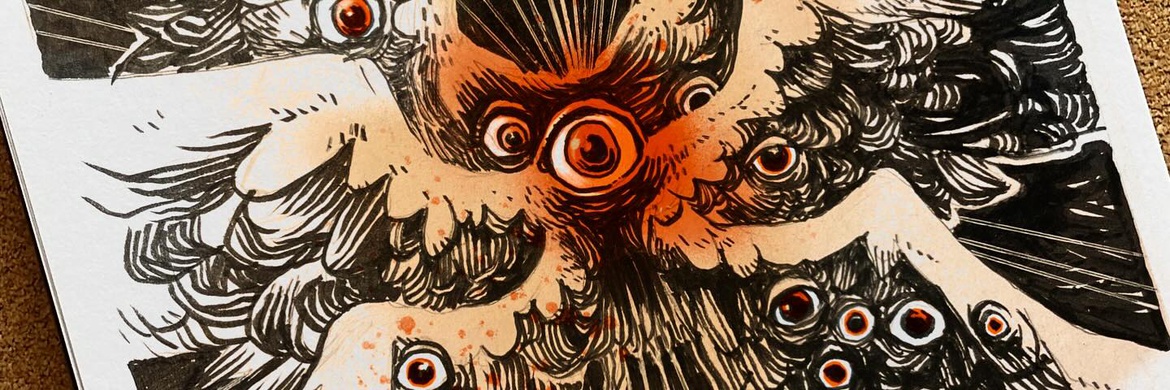
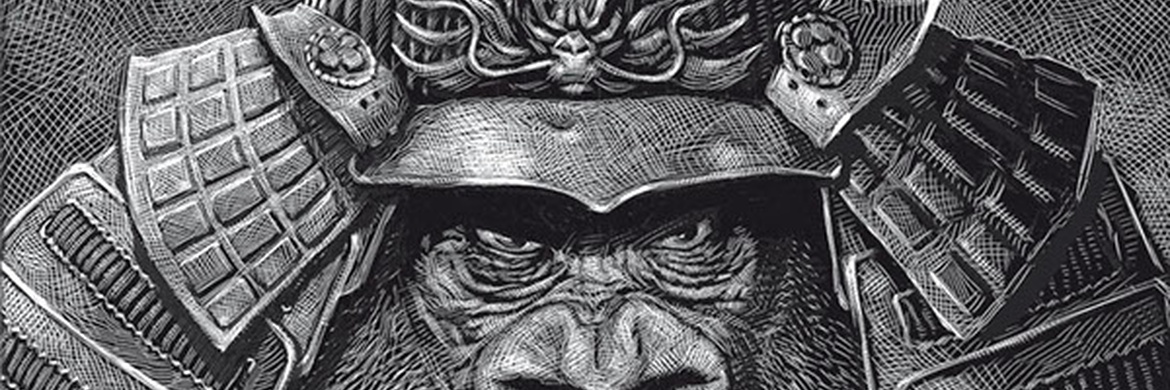
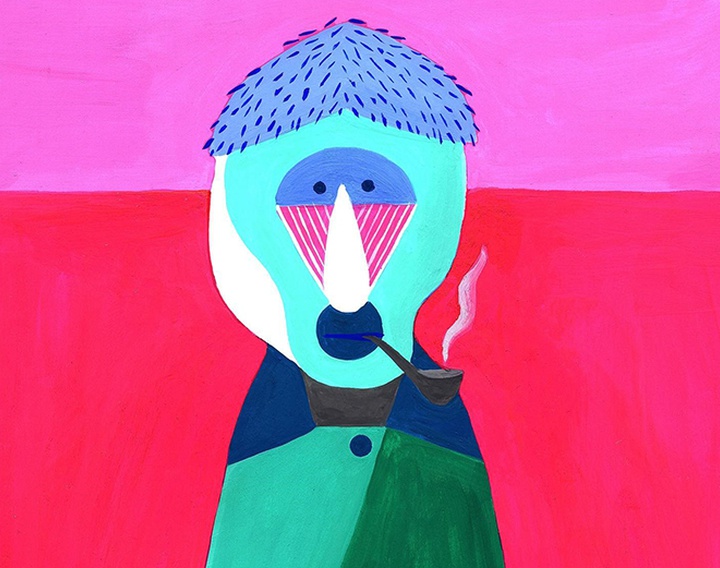
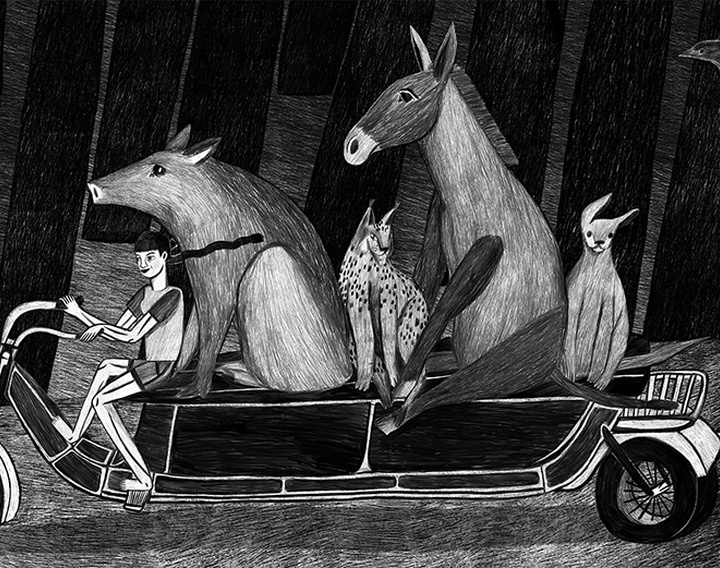
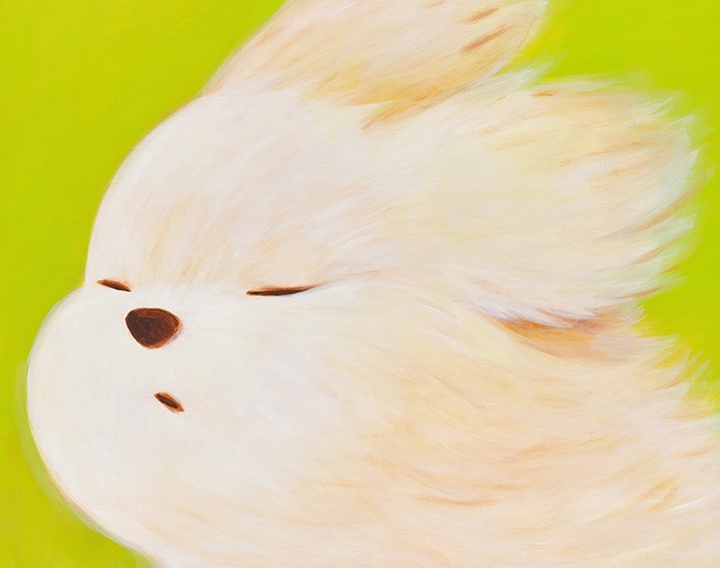
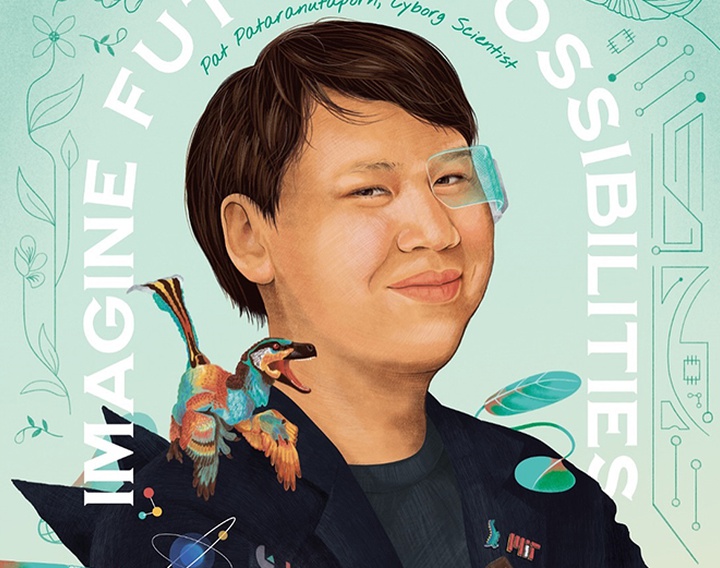
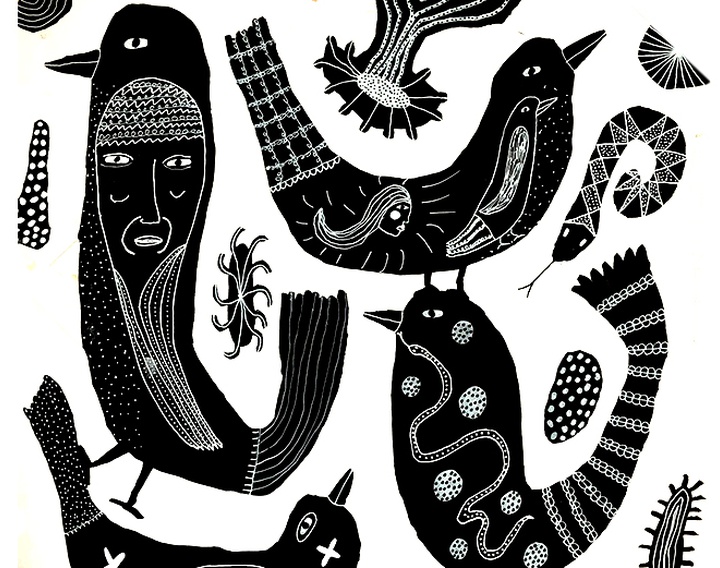
Gallery of illustration by Tiago Hoisel-Brazil
Aug 10, 2025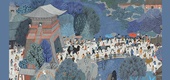
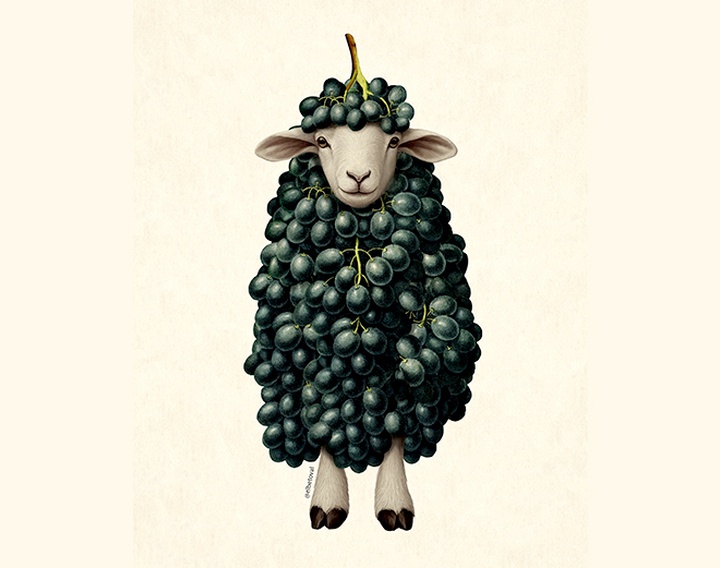
Gallery of Illustration by Natalya Demianenko - Russia
Jul 22, 2025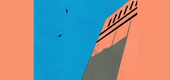
Gallery of Illustration by Kento IIDA - Japan
Jul 14, 2025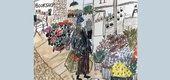
Gallery of Illustration by Shermaine - Singapore
Jul 13, 2025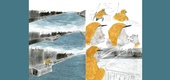
Gallery of Illustration by Kseniia Berdnikova - Russia
Jul 04, 2025
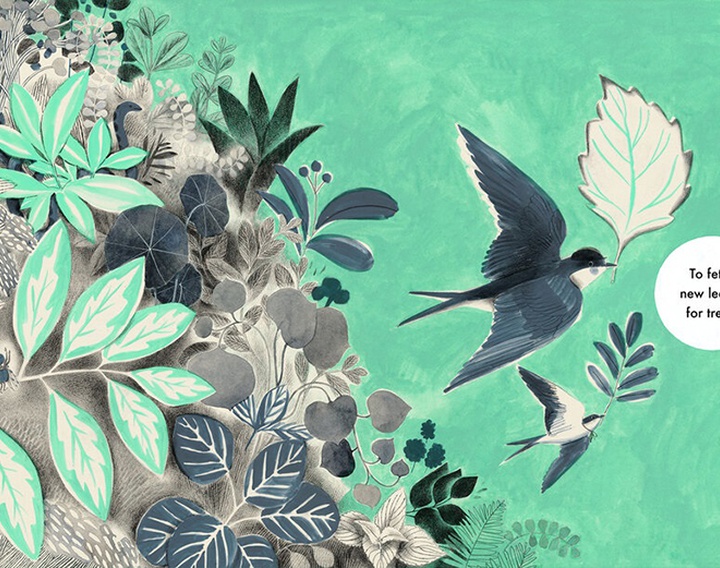
Gallery of Illustration by Dongyan Xu - China
Jun 26, 2025
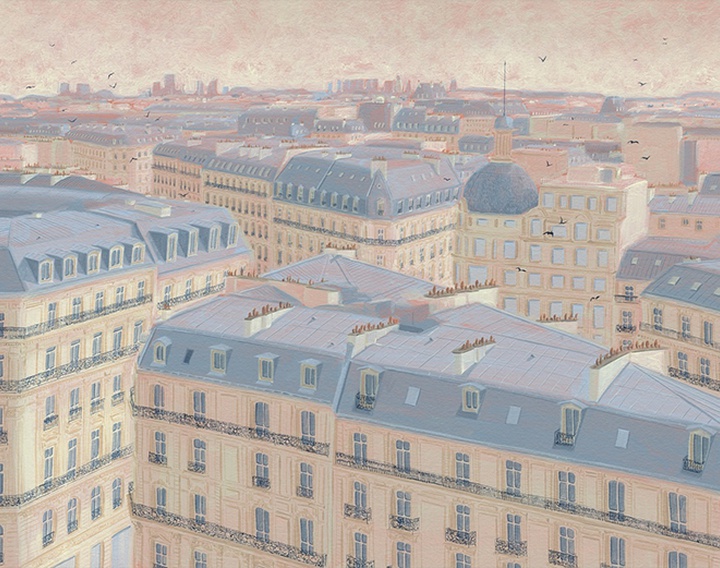
Gallery of Illustration by Martin Jarrie - France
Jun 15, 2025
Gallery of Illustration by Manon Hermans (manonina) - Belgium
Jun 12, 2025
Gallery of Illustration by Maria Titova - Russia
Jun 10, 2025
Advertisement 
Gallery Illustration


Advertisement 
Advertisement
Advertisement