
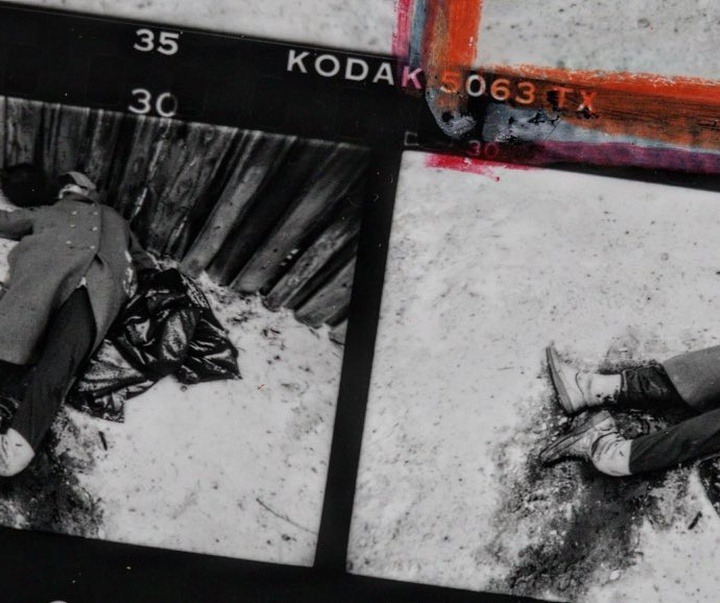
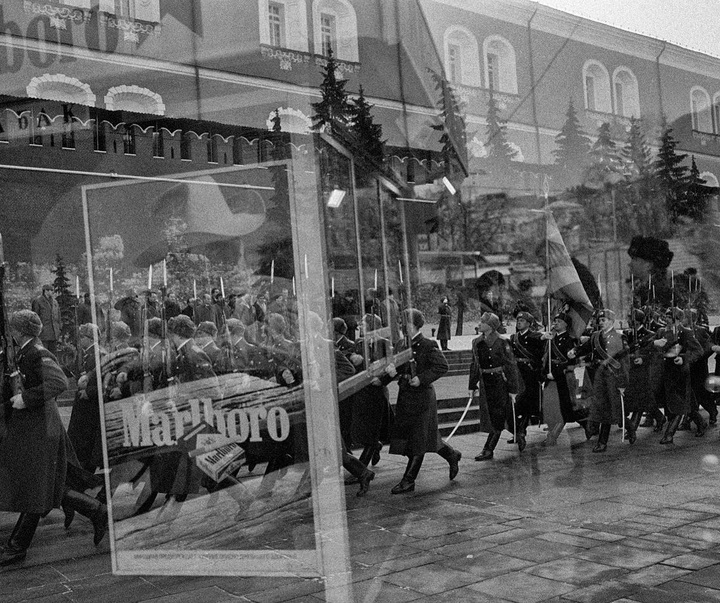
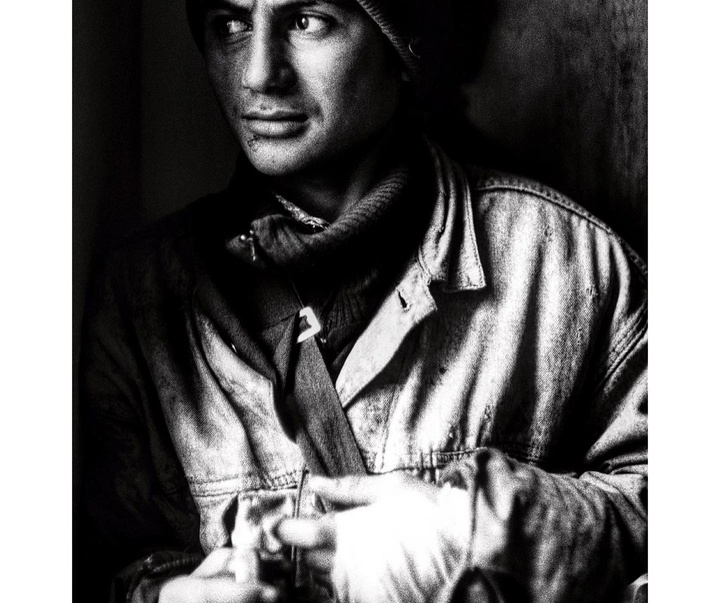
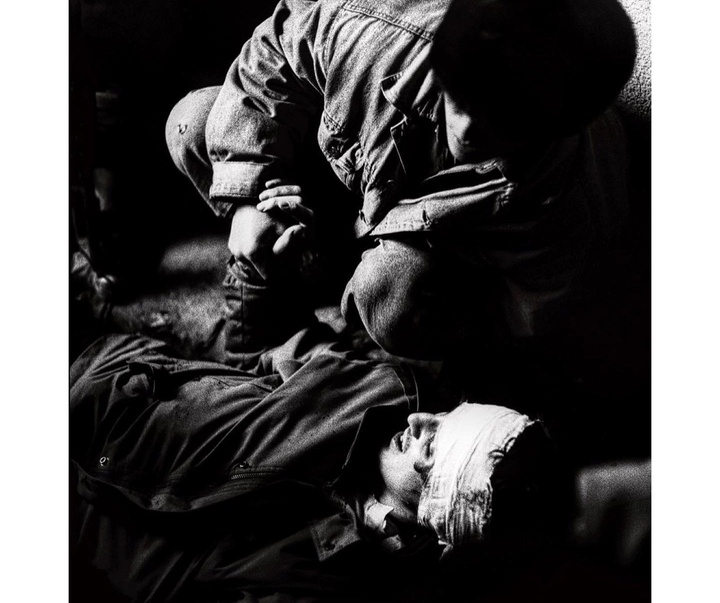
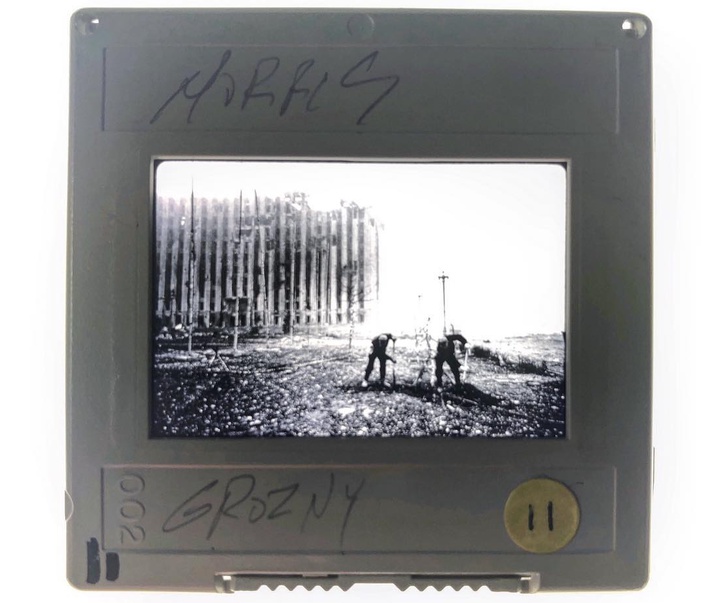
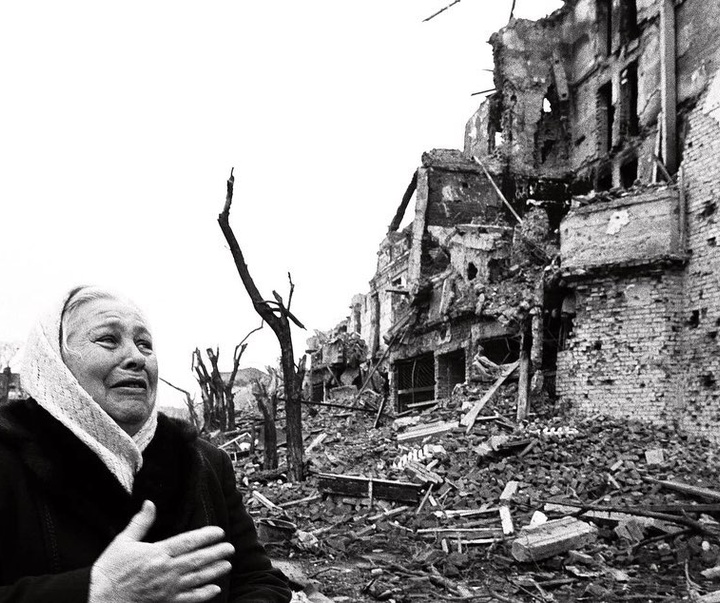
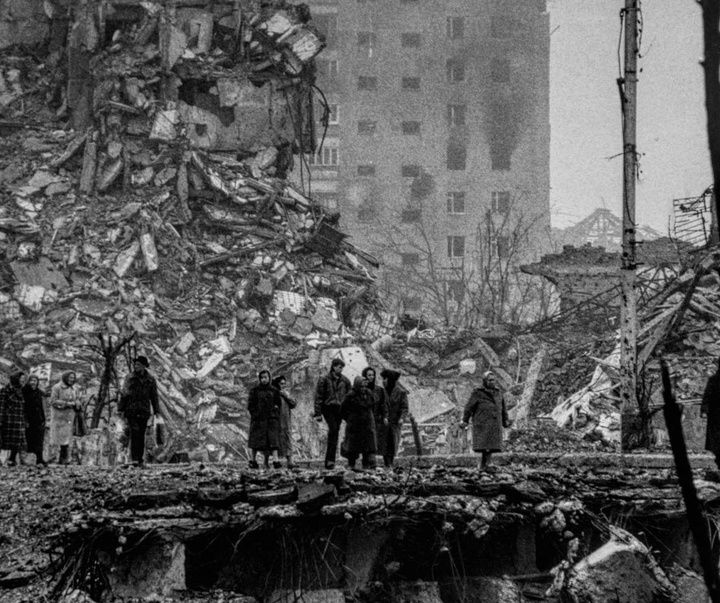
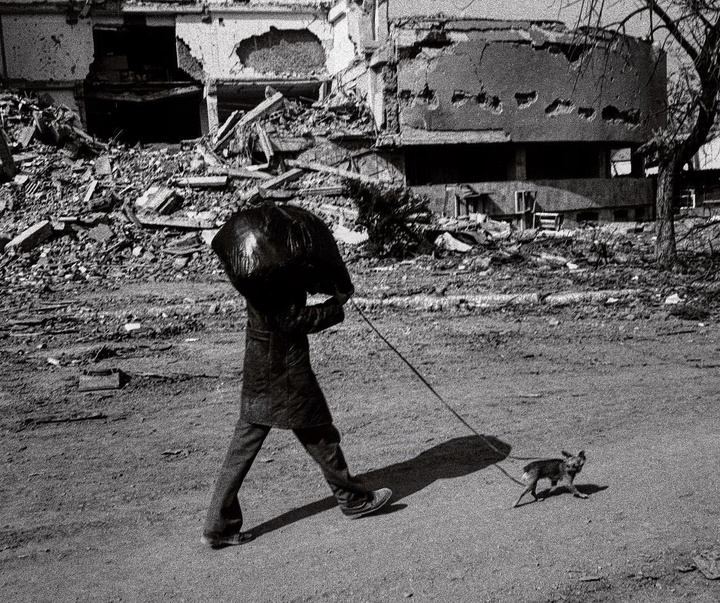
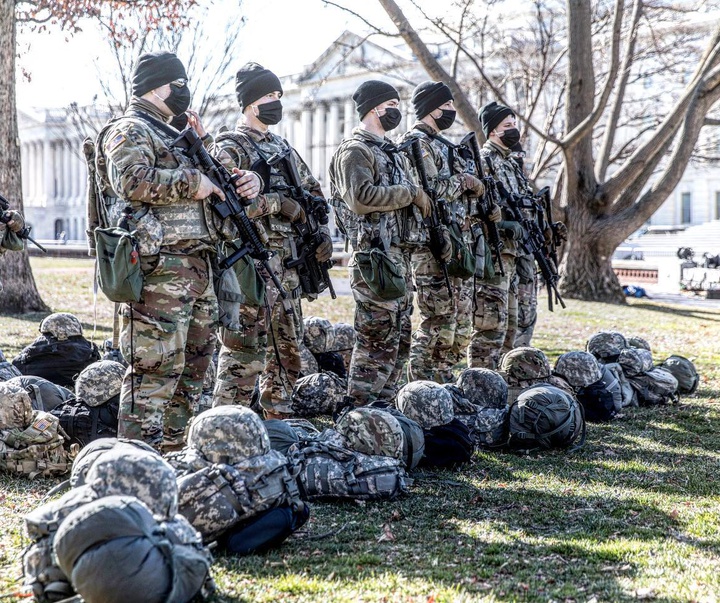
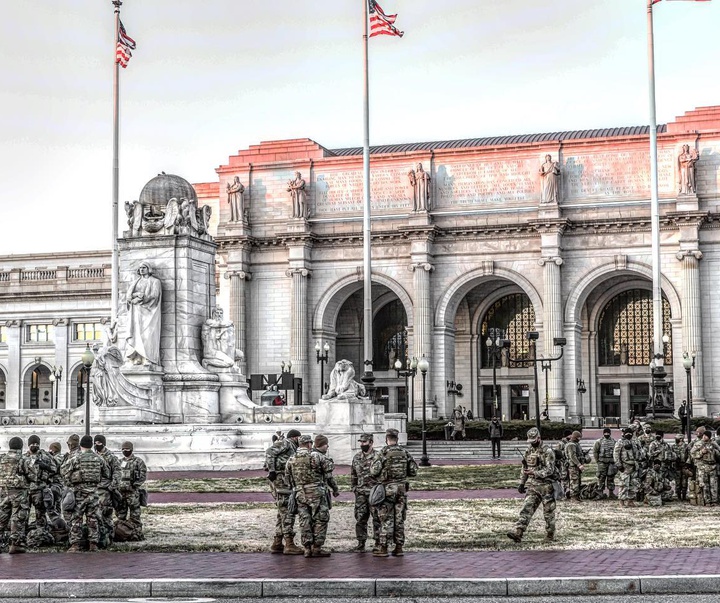
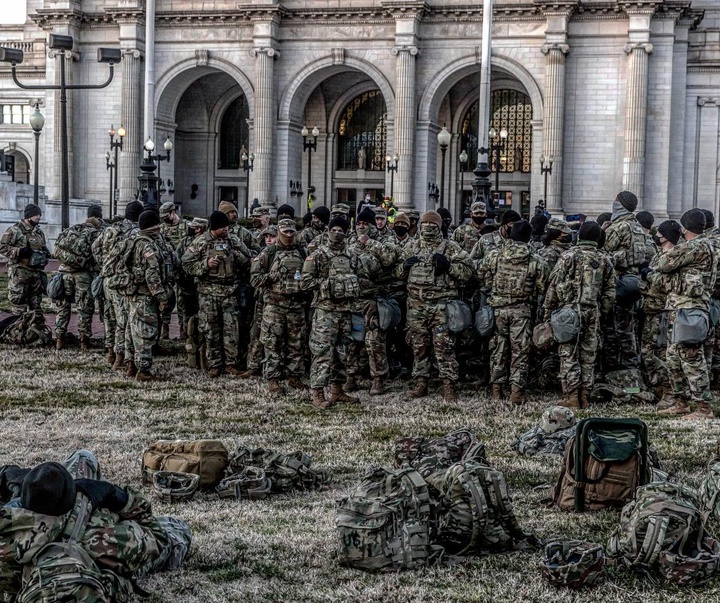
Gallery of War Photography by Christopher Morris-USA
- Mar 03, 2022
- 0
- 11,608
Gallery of War Photography by Christopher Morris-USA Gallery of War Photography by Christopher Morris-USA Gallery of War Photography by Christopher Morris-USA Gallery of War Photography by Christopher Morris-USA Gallery of War Photography by Christopher Morris-USA Gallery of War Photography by Christopher Morris-USA Gallery of War Photography by Christopher Morris-USA Gallery of War Photography by Christopher Morris-USA Gallery of War Photography by Christopher Morris-USA Gallery of War Photography by Christopher Morris-USA Gallery of War Photography by Christopher Morris-USA Gallery of War Photography by Christopher Morris-USA Gallery of War Photography by Christopher Morris-USA Gallery of War Photography by Christopher Morris-USA Gallery of War Photography by Christopher Morris-USA Gallery of War Photography by Christopher Morris-USA Gallery of War Photography by Christopher Morris-USA Gallery of War Photography by Christopher Morris-USA Gallery of War Photography by Christopher Morris-USA Gallery of War Photography by Christopher Morris-USA Gallery of War Photography by Christopher Morris-USA Gallery of War Photography by Christopher Morris-USA Gallery of War Photography by Christopher Morris-USA Gallery of War Photography by Christopher Morris-USA Gallery of War Photography by Christopher Morris-USA Gallery of War Photography by Christopher Morris-USA Gallery of War Photography by Christopher Morris-USA Gallery of War Photography by Christopher Morris-USA Gallery of War Photography by Christopher Morris-USA Gallery of War Photography by Christopher Morris-USA Gallery of War Photography by Christopher Morris-USA Gallery of War Photography by Christopher Morris-USA Gallery of War Photography by Christopher Morris-USA Gallery of War Photography by Christopher Morris-USA Gallery of War Photography by Christopher Morris-USA Gallery of War Photography by Christopher Morris-USA Gallery of War Photography by Christopher Morris-USA Gallery of War Photography by Christopher Morris-USA Gallery of War Photography by Christopher Morris-USA Gallery of War Photography by Christopher Morris-USA Gallery of War Photography by Christopher Morris-USA Gallery of War Photography by Christopher Morris-USA Gallery of War Photography by Christopher Morris-USA Gallery of War Photography by Christopher Morris-USA Gallery of War Photography by Christopher Morris-USA Gallery of War Photography by Christopher Morris-USA Gallery of War Photography by Christopher Morris-USA Gallery of War Photography by Christopher Morris-USA Gallery of War Photography by Christopher Morris-USA Gallery of War Photography by Christopher Morris-USA 


